Tuesday, April 2, 2013

Dyeing Easter Eggs, Naturally

I'm here, I'm here! *whew*

Sorry guys, I know I've been ignoring my blog the past couple of weeks, especially the stash busting part. Want to here my excuses?

  1. My loan officer failed to even attempt to push my loan through on time, so I missed out on purchasing my condo and am still living out of boxes in my parents' spare bedroom. Thus, all the fun, crafty, "new home" posts I was planning on fell out the window. Grr.
  2. I sometimes develop these annoying little dry itchy bumps on one of my fingers; I'm told these bumps are related to stress, but I don't really know. Maybe they are. Anyway, they crop up right where I need to feed my yarn when I'm crocheting (this started years before I began crocheting, so luckily the two aren't actually linked). Inconvenient, yes? And it happened right as I was getting into Ali's new Sherlock stitch. Grr again.

Anyway, enough whining. I'm here to show you folks what my family and I experimented with for Easter!

Dyeing Easter Eggs, the Natural Way

I've got to say, we were pretty excited to try this! My mom had a list of recipes for dying Easter Eggs using household ingredients and food, all of which sounded fun to try. I have no idea where she got the list from, plus she made a lot of the dyes while I wasn't there, so... bear with me here.

  • Turmeric:
Boil some Turmeric! 1 cup of water and 2 tsp of Turmeric, if my memory serves me properly

This, as you can imagine, was going to be used to make yellow eggs! Other colours called for such things as: purple cabbage leaves (steep leaves for hours), paprika (boil), blueberries (boil and cool), coffee, grape juice (not exactly natural ((mix with vinegar))), and red onions (steep for hours).

Once the dyes are cool and ready, we found it easiest to put them into ziploc bags with the eggs and just shape them into different containers.


Coffee, Onion, and Cabbage eggs are ready; others soon to follow!

We started this all on Saturday night. Then on Easter day, they were all good and coloured!


Once they were completely dry, we were all pleasantly shocked to find out that some had turned out... glittery!

Can't fully capture the glitter in a picture, but I'm proud of how well my camera performed

That would be the grape juice and vinegar egg. Apparently, the sugar from the juice separated and crystallized. That's our guess anyway. No matter the cause, I'm just glad it happened!

So Many Eggs...

Now we just have to actually eat all of these eggs. Today I brought some leftover dinner rolls to work, along with two pretty little eggs - coffee and cabbage.


I shall peel them up and make some delicious egg salad out of plain yogurt.

And while we're on the subject of peeling eggs... does everyone else usually struggle with that? The brown shell ended up in about 40 pieces when I was done, but then I had what turned out to be a smart idea. I just cracked the blue egg on the bottom, where the little air sac is, and so I had a nice grip on the shell to peel it off! Look, it came off in almost one piece:


I'll have to remember that. Hopefully it will work every time.


One Post Down

So that was one of my Easter projects! (other one to be posted later) Hopefully some of you will think of dyeing eggs like this next year. I know I didn't break any recipes down, but that's okay; there are so many fun ones out there, using different herbs, flowers and food, that just picking which ones you want will be part of the fun!


How did everyone else enjoy their weekend?


Sunday, March 10, 2013

Sunday Stash Update #5 - Starfish Washcloths

Hello again! I just got back from a weekend trip and I'm tired, but I'm here for a quick stash-busting update. (Sorry it's going to be quick and sloppy)

This time I've got some starfish washcloths to show you!


Don't mind the toilet in the background, just look at the pretty cloths. They are of course made with just my Sugar 'n Cream yarn, and they weigh 33 and 35 grams, respectively.

I hooked these by this pattern from Red Heart, and found myself really hating their written instructions. You'd be surprised to know how many different ways I can interpret "...5 times, working 2 sts in previous point, 1 st in sc in ring and last 2 sts in opposite edge" before I actually get it right. I found myself wishing for a regular symbol pattern to follow!

As for my other projects, I finally finished weaving in that bauble towel/cloth:


Ta-daa. This was done before I knew how to properly "crochet evenly around," but oh well. It still manages to be cute. Plus, it's heavy; I added another 25 grams onto it from the last time you saw.

Totals and What's Next

So these put me at a total of 93 grams for this update! Although in reality I have stitched more than that, but my next cloth isn't ready to show yet. I'll tell you about it next time. As for now, I'm going to relax.

Don't forget to check out the other stash-busters! There are over a hundred of us now, so plenty to keep you busy.

Thursday, March 7, 2013

Air-Dried "Porcelain"

Alright I am finally getting this post up. I wanted to do this last week, but I was screaming with the pain of food poisoning... or so I thought. Turns out it's some kind of evil stomach virus, of which I am still suffering. So forgive me if I ramble throughout this post and make it unnecessarily long.

This is a really exciting project with a myriad of possibilities, and I think everyone should make something out of it at least once. Now, being the way I am, I went straight for making an impossible piece with the porcelain... but let's not focus on that. Let's instead focus on how perfectly the dough itself turned out!

Gathering Ingredients

There are a few different tutorials online, and I happened to go with the one over at TheJunkWave.

Here's what you need:

  • 3 cups of White Glue
  • 3 cups of Cornstarch
  • 1 tbsp of White Vinegar
  • 1 tbsp of Glycerin
  • 2 tbsp of Canola Oil

The glue and the glycerin can definitely be found at Michael's or some other craft store. Everything else can be found at a grocery store, or in your cupboard already. Actually, depending on your grocery store, each of these ingredients can just be found there.

Mix it Up!

Mix your glue and cornstarch together (that was harder than it sounds!), then add everything else and mix thoroughly. Be sure to find all the hidden pockets of powder that are hiding everywhere.


Sorry about the crazy lighting


You are then ready for the terrifying and easily messed up part: the cooking.

The Scary Part

TheJunkWave gives instructions for microwave and stovetop cooking, but I only tested out the stovetop so that's what I'll tell you about.

I read all about how easy it is to mess this part up, and I was really worried I would over or under cook the dough. I needn't have been so nervous though, as this method worked absolutely perfectly.

Put your mixture into a pot that you can easily clean (ha! Gotcha!), and put it on the stove. I did not warm up my burner first; I just put on the pot and turned it onto low heat right then and there. This method took me exactly 15 minutes from the turn of the dial to the time I took it off the stove. But I'm getting ahead of myself; let's talk about the fun you will have watching it cook. I know my own experience was wrought with self-doubt and excitement, and I'm sure yours will be special too.


As I plopped my mixture into my pot and got a big waft of glue stench up my nose, I kind of felt like an idiot. Who cooks glue on the stove? But whatever, it supposedly worked for other people. So I turned on the burner and started my phone's stopwatch. For the first several minutes, I just sat there stirring the viscous glue mix and wondering where I had gone wrong in my life that I had been reduced to this.

Then I realized that I could lift the spoon up and drizzle words and pictures on top of the batter, and they would actually stay for a moment - or at least longer than the foods I had made on the stove.


See? It says Teal. Except the T faded by the time I took a picture.


How fun! So that kept me entertained for a while, until suddenly the glue started changing!


Picture 1. Slight film forming, glue is becoming matte instead of shiny. Picture 2. Starting to clump!


The tutorial I was following said the mix would start to clump up like ricotta cheese and pull away from the sides of the pot. Mine wasn't exactly doing that yet, but it was getting there. I started to have hope. Hope that was fading by the time 14 minutes rolled around... but then what do you know? Right as my phone reached 15 minutes, the glue had started pulling away and clumping all over the place. It was ready!


The Scary + Fun Part


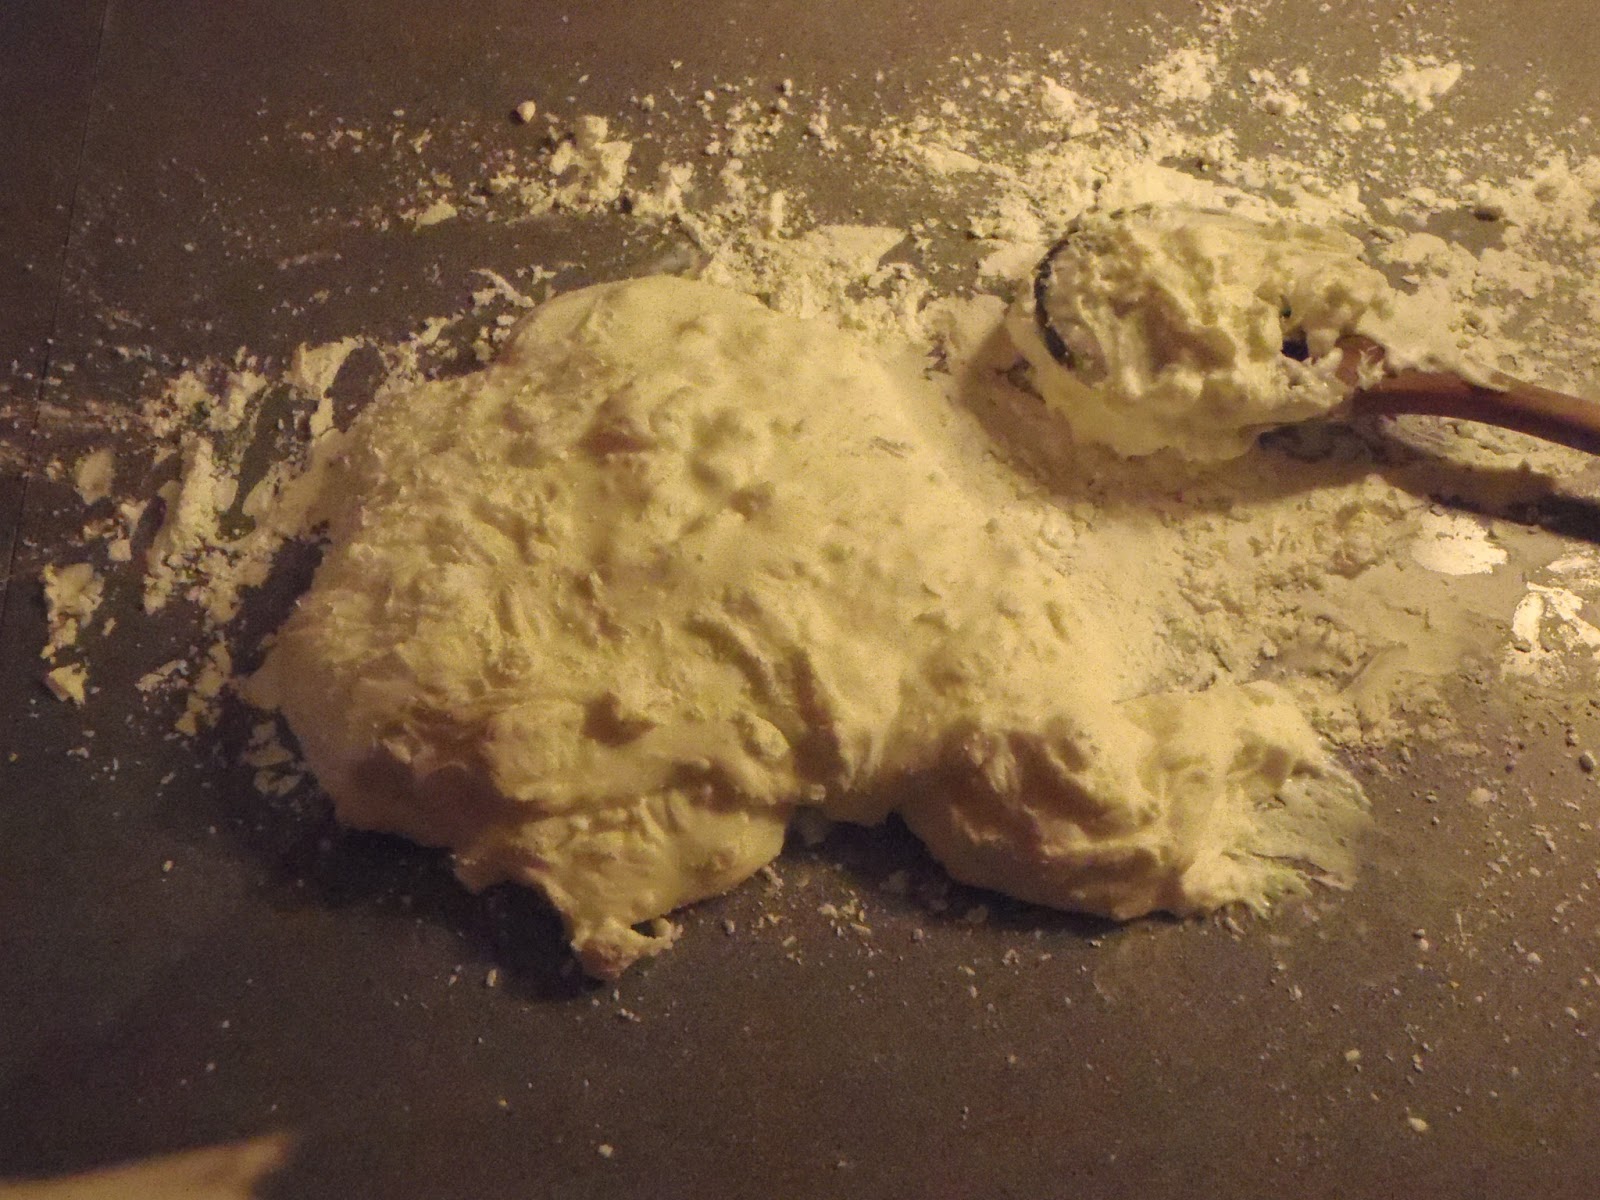
I scooped the dough onto a floured counter top and gave it some time alone to cool down. Then I floured my hands and got to work kneading.

Wow. Be certain to remove all jewelry, don't wear long sleeves, make sure nobody can possibly need you for anything, and maybe even have a designated phone answerer, because you are going to be a disaster. That dough sticks to absolutely everything it touches. This is just about the time I started to feel like an idiot again; especially when pieces would be drying under my nails and I thought I'd have to get them surgically removed.

But still, I need not have worried; after several messy minutes, the dough actually started to form and stick to itself rather than everything but. Soon, you are just playing with this really soft, large ball of dough. More fun!


Sadly, this is the time to put it away and forget about it; the dough has to sit in the fridge in an airtight container for at least 24 hours.

I don't know how long the dough will last, but I had mine in a ziploc bag in the fridge for about two weeks before I was able to do anything with it and it came out just fine.


Cleanup

Here come the feelings of idiocy again. Cleaning up after this stuff is not fun in any sense of the word. The best I can say is... test both soaking the glue and letting it dry first. The mixing bowl I was able to clean with just water, but the pot was another story. Some I removed after soaking, and the rest I left stuck on out of frustration.

To my surprise, when I went back the next day to give that pot another shot I was able to pretty easily scrape off the remaining dried out glue. Then I remembered that glue is indeed easy to peel away (anyone else used to cover their hand in glue as a kid just to peel it off?) and wondered if I shouldn't have just left it all out to dry.


Time to Get Creative!

After a day of waiting, it's time to make something out of your dough!

Now my creation I won't bother to show you. Let's just say you really need a potter's wheel to make a teapot, and a balloon is only a passable substitute.

I'm sad though, because I have really fantastic ideas to make a teapot customized for my crocheting needs. Really, really fantastic ideas! Unfortunately I have no way of making this amazing teapot right now. Perhaps in the future I'll be able to.


Moving On

So that's what I have for today! Hopefully I was able to make sense the whole way through. Sunday I'll be back to show you the starfish washcloths I've made, and maybe I'll have found my scale by then so I can update my Stash-Busting totals.

Has anyone here ever tried their creative hand at making this air-dried "porcelain?" Let me know if you have!