
This is a really exciting project with a myriad of possibilities, and I think everyone should make something out of it at least once. Now, being the way I am, I went straight for making an impossible piece with the porcelain... but let's not focus on that. Let's instead focus on how perfectly the dough itself turned out!
Gathering Ingredients
There are a few different tutorials online, and I happened to go with the one over at TheJunkWave.
Here's what you need:
- 3 cups of White Glue
- 3 cups of Cornstarch
- 1 tbsp of White Vinegar
- 1 tbsp of Glycerin
- 2 tbsp of Canola Oil
The glue and the glycerin can definitely be found at Michael's or some other craft store. Everything else can be found at a grocery store, or in your cupboard already. Actually, depending on your grocery store, each of these ingredients can just be found there.
Mix it Up!
Mix your glue and cornstarch together (that was harder than it sounds!), then add everything else and mix thoroughly. Be sure to find all the hidden pockets of powder that are hiding everywhere.


Sorry about the crazy lighting
You are then ready for the terrifying and easily messed up part: the cooking.
The Scary Part
TheJunkWave gives instructions for microwave and stovetop cooking, but I only tested out the stovetop so that's what I'll tell you about.
I read all about how easy it is to mess this part up, and I was really worried I would over or under cook the dough. I needn't have been so nervous though, as this method worked absolutely perfectly.
Put your mixture into a pot that you can easily clean (ha! Gotcha!), and put it on the stove. I did not warm up my burner first; I just put on the pot and turned it onto low heat right then and there. This method took me exactly 15 minutes from the turn of the dial to the time I took it off the stove. But I'm getting ahead of myself; let's talk about the fun you will have watching it cook. I know my own experience was wrought with self-doubt and excitement, and I'm sure yours will be special too.

As I plopped my mixture into my pot and got a big waft of glue stench up my nose, I kind of felt like an idiot. Who cooks glue on the stove? But whatever, it supposedly worked for other people. So I turned on the burner and started my phone's stopwatch. For the first several minutes, I just sat there stirring the viscous glue mix and wondering where I had gone wrong in my life that I had been reduced to this.
Then I realized that I could lift the spoon up and drizzle words and pictures on top of the batter, and they would actually stay for a moment - or at least longer than the foods I had made on the stove.

See? It says Teal. Except the T faded by the time I took a picture.
How fun! So that kept me entertained for a while, until suddenly the glue started changing!


Picture 1. Slight film forming, glue is becoming matte instead of shiny. Picture 2. Starting to clump!
The tutorial I was following said the mix would start to clump up like ricotta cheese and pull away from the sides of the pot. Mine wasn't exactly doing that yet, but it was getting there. I started to have hope. Hope that was fading by the time 14 minutes rolled around... but then what do you know? Right as my phone reached 15 minutes, the glue had started pulling away and clumping all over the place. It was ready!

The Scary + Fun Part
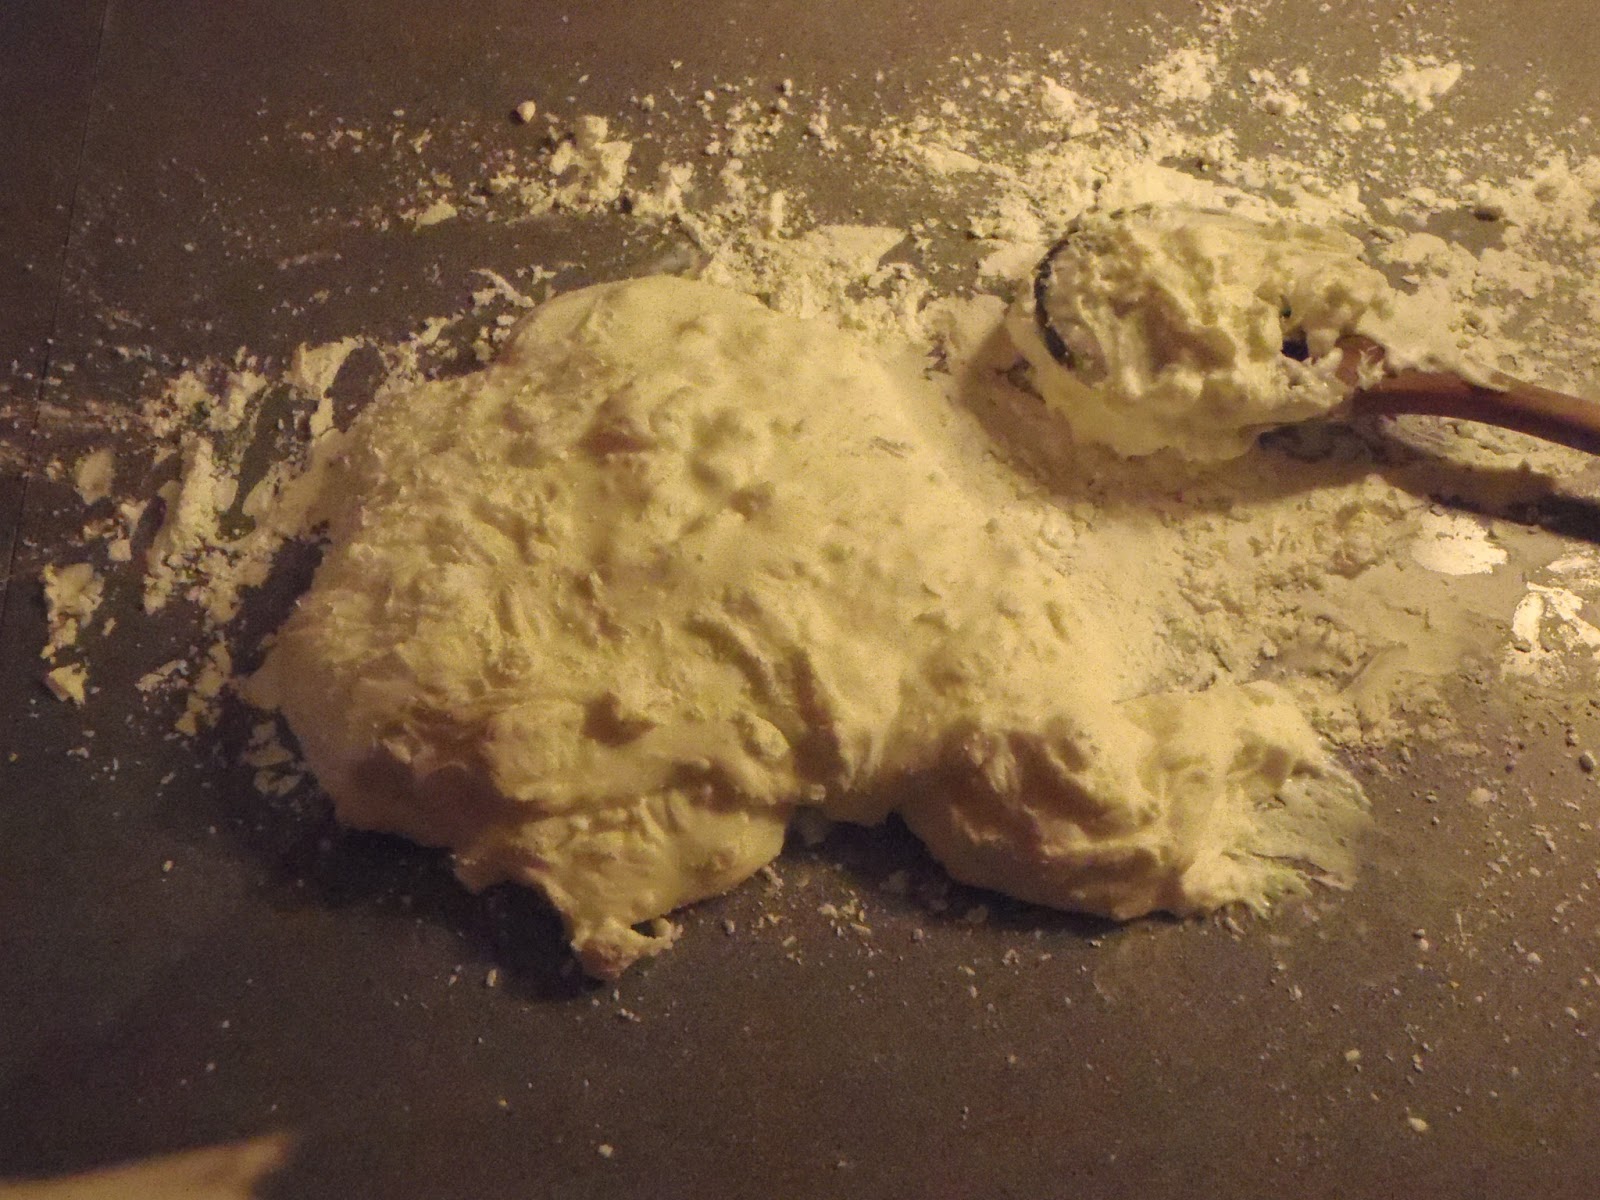
I scooped the dough onto a floured counter top and gave it some time alone to cool down. Then I floured my hands and got to work kneading.
Wow. Be certain to remove all jewelry, don't wear long sleeves, make sure nobody can possibly need you for anything, and maybe even have a designated phone answerer, because you are going to be a disaster. That dough sticks to absolutely everything it touches. This is just about the time I started to feel like an idiot again; especially when pieces would be drying under my nails and I thought I'd have to get them surgically removed.
But still, I need not have worried; after several messy minutes, the dough actually started to form and stick to itself rather than everything but. Soon, you are just playing with this really soft, large ball of dough. More fun!

Sadly, this is the time to put it away and forget about it; the dough has to sit in the fridge in an airtight container for at least 24 hours.
I don't know how long the dough will last, but I had mine in a ziploc bag in the fridge for about two weeks before I was able to do anything with it and it came out just fine.
Cleanup
Here come the feelings of idiocy again. Cleaning up after this stuff is not fun in any sense of the word. The best I can say is... test both soaking the glue and letting it dry first. The mixing bowl I was able to clean with just water, but the pot was another story. Some I removed after soaking, and the rest I left stuck on out of frustration.
To my surprise, when I went back the next day to give that pot another shot I was able to pretty easily scrape off the remaining dried out glue. Then I remembered that glue is indeed easy to peel away (anyone else used to cover their hand in glue as a kid just to peel it off?) and wondered if I shouldn't have just left it all out to dry.
Time to Get Creative!
After a day of waiting, it's time to make something out of your dough!
Now my creation I won't bother to show you. Let's just say you really need a potter's wheel to make a teapot, and a balloon is only a passable substitute.
I'm sad though, because I have really fantastic ideas to make a teapot customized for my crocheting needs. Really, really fantastic ideas! Unfortunately I have no way of making this amazing teapot right now. Perhaps in the future I'll be able to.
Moving On
So that's what I have for today! Hopefully I was able to make sense the whole way through. Sunday I'll be back to show you the starfish washcloths I've made, and maybe I'll have found my scale by then so I can update my Stash-Busting totals.
Has anyone here ever tried their creative hand at making this air-dried "porcelain?" Let me know if you have!
WOW Ashley what a detailed and fun description of your experiences with Porcelain! Love your personal anecdotes and tips. Sounds like an interesting if not a little messy activity. Shame your teapot didn't materialise - but now you have had a go perhaps you could modify your design and try it again. Sure you will have enthused someone to cook glue mixture on the stove - you have certainly taken some of the scary bits out of the equation!
ReplyDeleteI can completely identify with making THE most complicated item for a first try at something - always running before I can walk!
So sorry to hear you have been struck and laid low with a stomach lurgy..hope you are well on the mend now.
Glad to hear you have been able to make sense of my rambling instructions for Sherlock!
Looking forward to seeing your starfish washcloths - sound cool!
Hope you can take it easy while you recover x
Ali x
This was indeed a lot of fun, even though it made a disaster of the kitchen! There aren't many different tutorials out there for this kind of porcelain, so hopefully I added some helpful tips that were lacking.
DeleteHopefully I do get to make a teapot some day. Maybe if I feel like overpaying for a class at the university, they'll let me use the potters' wheel to make whatever I want.
I have been finally recovering from my stomach nonsense... finally ate some real food yesterday. Now maybe I can properly get back to that Sherlock dishcloth! I was hoping to have it ready for this latest stash update, but I got too busy/sick. I've gotten several rows done though, and it hasn't ceased to amuse me!
That bug sounds really nasty glad you are eventually on the mend.
DeleteLove your description of your dishcloth hooking! Hope it continues to be a source of fun!
Ali x